


Cigar Box Transformation Using Decoupage!
- Lori Siegel

- Aug 4, 2022
- 2 min read
Updated: Sep 1, 2024
I decoupaged a dresser using rice paper a while ago, and I have been wanting to do it again. The dresser had been a massive undertaking, so this time around, I wanted something smaller.
I purchased an old cigar box at Goodwill and thought it would be the perfect item to decoupage. I had the item, now I had to pick out the paper. After looking through hundreds of papers, I was drawn to one called the Bluebird Queen by “Decoupage Queen”.
I had everything I needed, and it was time to get started!

I love this paper. It is fun, quirky and mesmerizing!


The outside of the box was given two coats of Waverly chalk paint in mineral and the inside was left as it is.


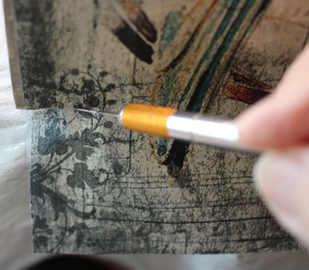


Cut the edges of the rice paper before decoupaging. Start at the top, applying wallpaper paste in a small area, then position the paper on the box. Taking your time slowly smooth out wrinkles with hands or a large chip brush. Let the paper dry then cut off excess with an Exacto-Knife, keeping the extra pieces in case you need to patch up any areas later. Once it dried, I sanded the edges slightly for a smooth feel.


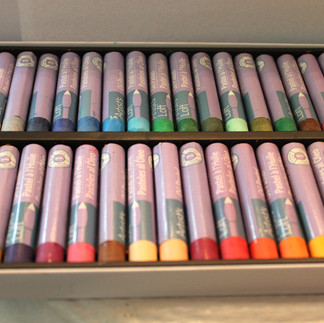


There was not enough decoupage paper to cover the entire cigar box. I had initially planned to paint only the sides of the box but decided to expand the design by incorporating oil pastels, acrylic paint, and my trusty color wheel.


First, I drew the tree and tail feathers. Then, I added color using a mix of oil pastels and acrylic paints, stepping back frequently to assess the progress and make any changes if needed. Once the artwork was done, I used the extra decoupage paper to fill in any empty spaces.


These extended designs on both sides turned out beautifully. It was actually not as hard as I thought it would be, having the decoupage paper as a reference was a great help.


Decoupage and cigar boxes make an incredible pair!
If you enjoyed this post, please give it a "like" and subscribe to receive new posts as they are created.

Comments