


DIY Old Book Page Wreath!
- Lori Siegel

- Nov 30, 2021
- 2 min read
Updated: Oct 16, 2024
While browsing "YouTube" for a Christmas do-it-yourself project, I came across a tutorial on making a book page wreath. The project seemed easy enough, and a wreath would look great in our front room, so I decided to give it a go.
Since there was quite a bit of preparation required, my mother-in-law Audrey offered her assistance, and I gratefully accepted.
Full disclosure:
As someone who loves reading, I don't take cutting up a book lightly. However, the spine was broken, and the pages were coming loose and would have been discarded. Instead, I used it to make a wreath that will preserve it for years to come.
Let's see what we did!

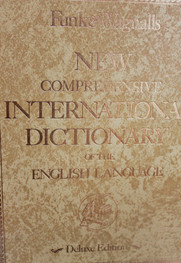


To start, I used an X-Acto Knife to remove the cover, making it easier to extract the one hundred and twenty pages. I then trimmed the edges to ensure they were all the same size.


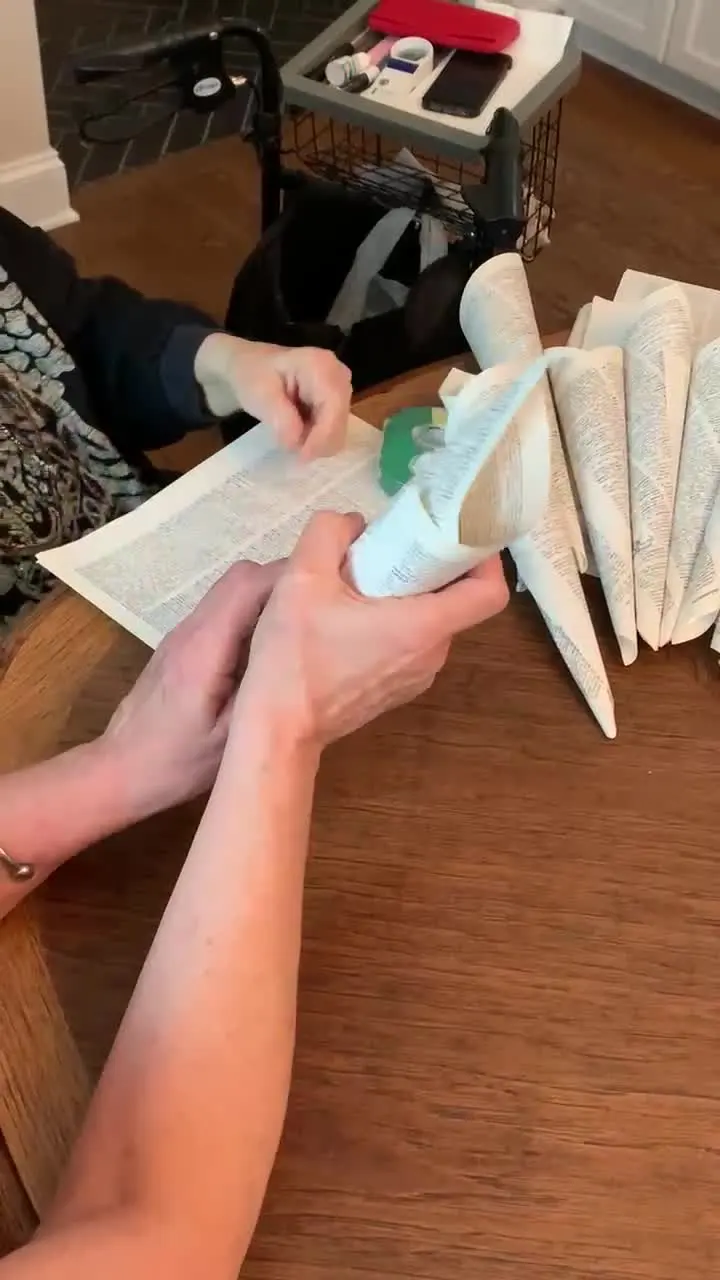
I rolled and my mother-in-law taped. In between, we chatted! And just like that, we had one
one hundred and twenty cones.
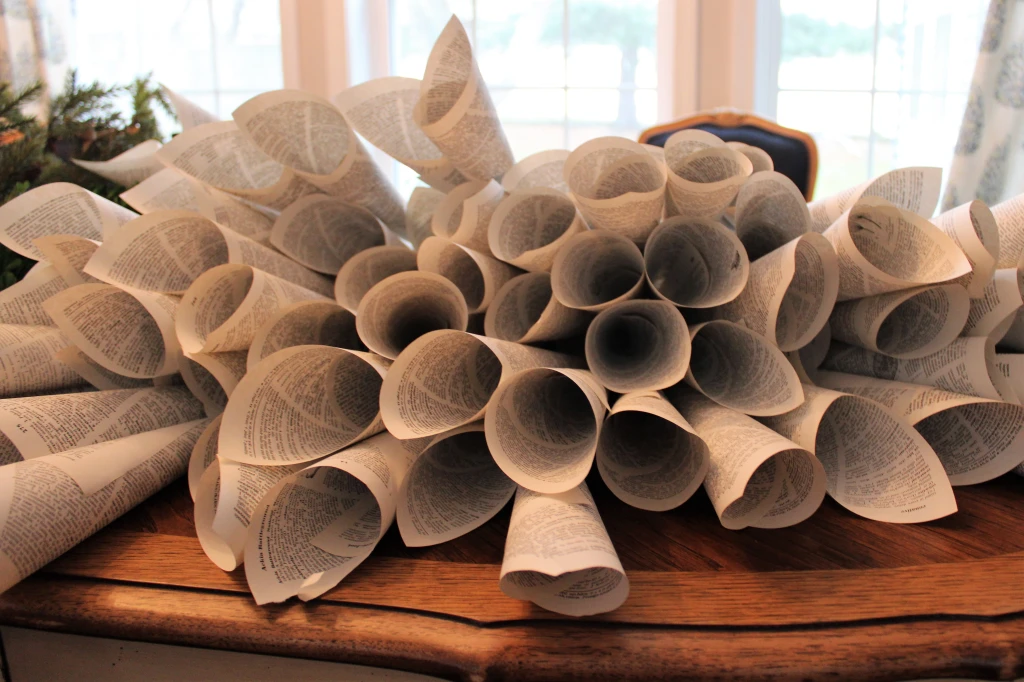


Using a tape measure, I measured one inch from the tip of the cone and secured it with a staple. I repeated this task a total of one hundred and nineteen times.
Next, I used a piece of string and a pencil to draw an eight-inch diameter circle and a four-inch diameter circle on a piece of poster board. With a glue gun, I started a pattern on the outer eight-inch circle by placing cones at twelve o’clock, three o’clock, six o’clock, and nine o’clock, and continued until the first layer was complete.
After finishing the first layer, I went on to create the four-inch inner layer. I liked how it looked, but I wanted a fuller wreath, so I added a third layer. To accomplish this, I added a two-and-a-half-inch circle to the center and repeated the process. The bottom two photos show the difference after another layer of cones (one on left has two layers, on the right has three).


For an added touch of sparkle, I placed ornaments and a some of my mother-in-law's costume jewelry (which she donated to the project) in the center of the wreath.

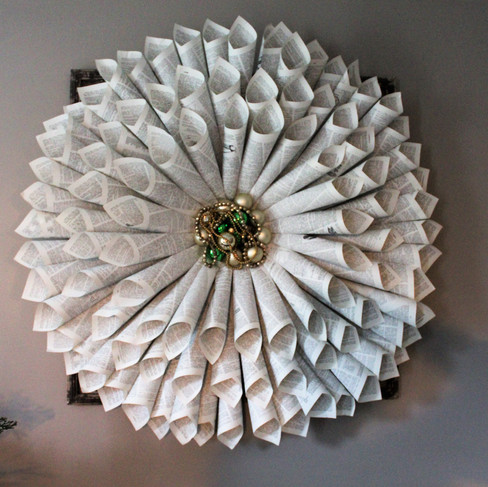


The finished wreath was bigger than I expected it to be, but I loved the way it came out.
The wall in my front room over the couch was the perfect place. It was big enough and the wreath compliments the room beautifully!
If you enjoyed this post, please give it a "like" and subscribe to receive new posts as they are created.

Comments