


Part Two: Decoupage Cabinet Before And After!
- Lori Siegel

- Apr 15, 2023
- 1 min read
Updated: May 4, 2024
Decoupaging was the easy part of this makeover. The hard part started when I began to add chalk paint to the decoupage, and it started to bubble up. It was not happening to the decoupage on the wood just on the glass. The good news was after the paint dried the bubbling disappeared. But the added dry time made the process much longer than expected. But the results were worth it.
The next time I attempt to add decoupage to glass, I will spray shellac first to create a barrier between the glass and the decoupage.
First a recap before the reveal:
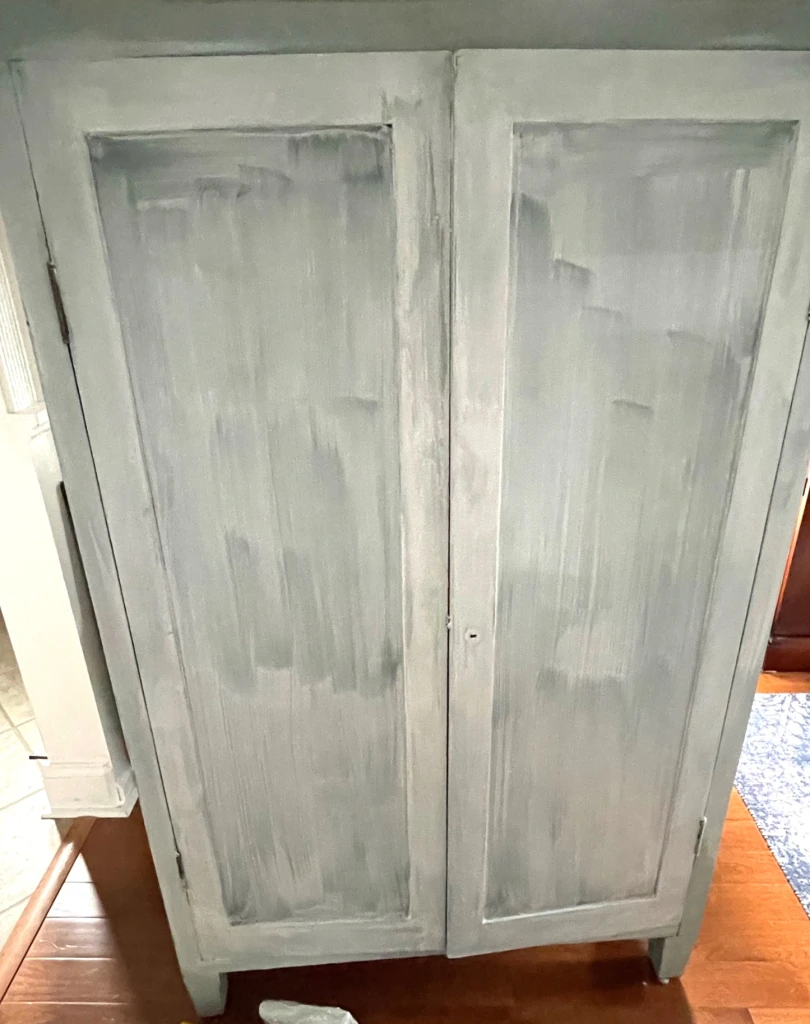
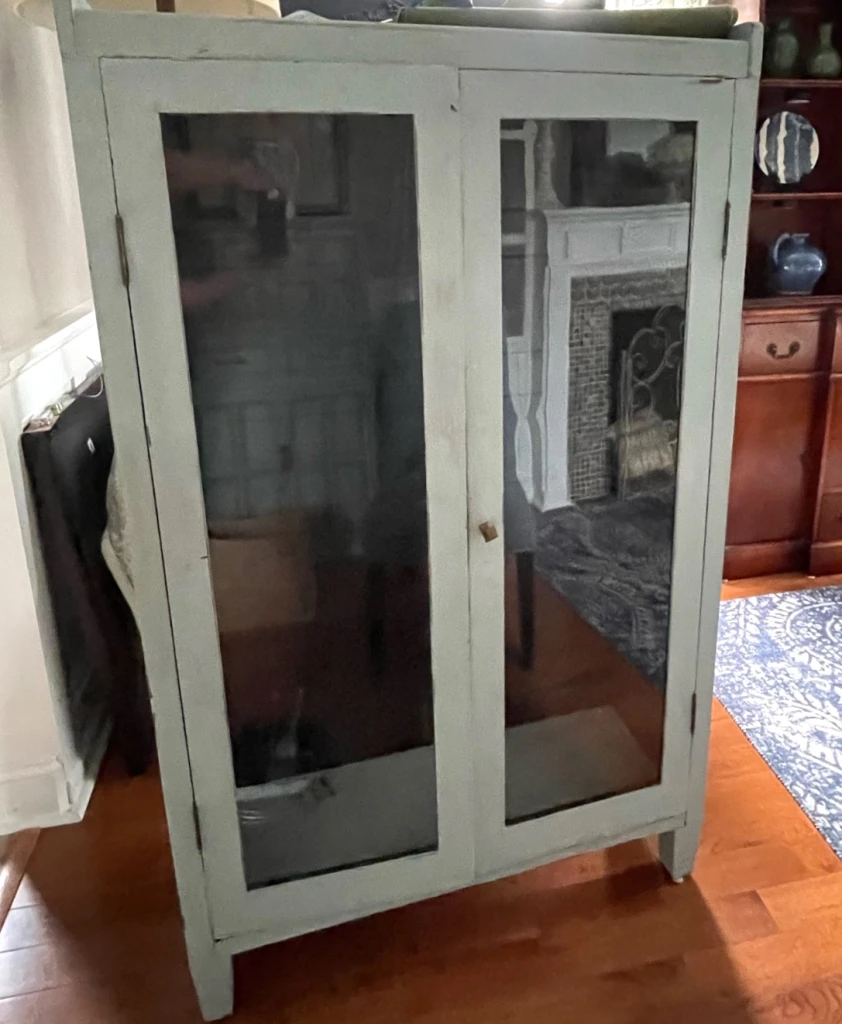
This is the cabinet I started with. Next time I will spray on shellac before decoupaging.
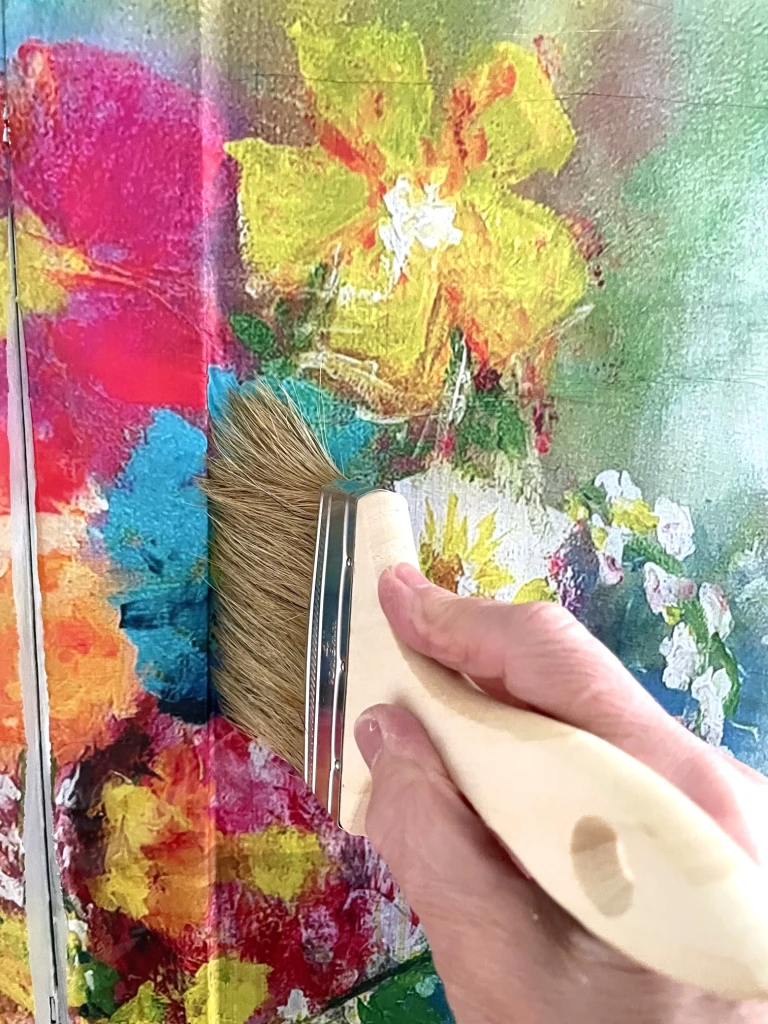
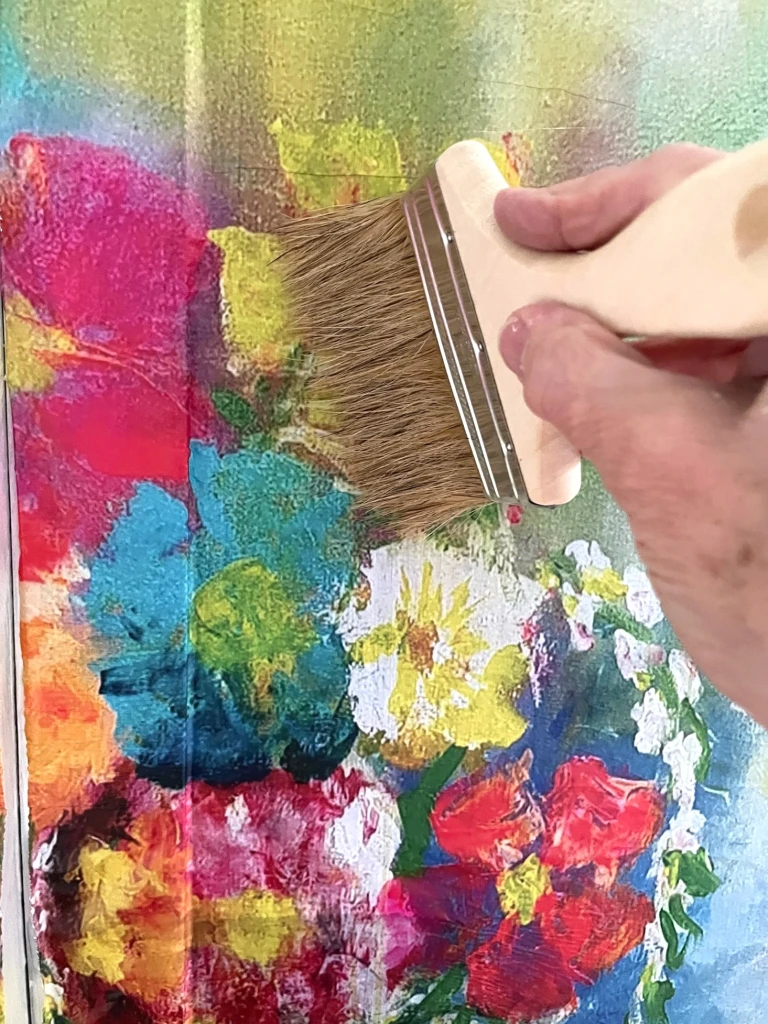
Applying decoupage.
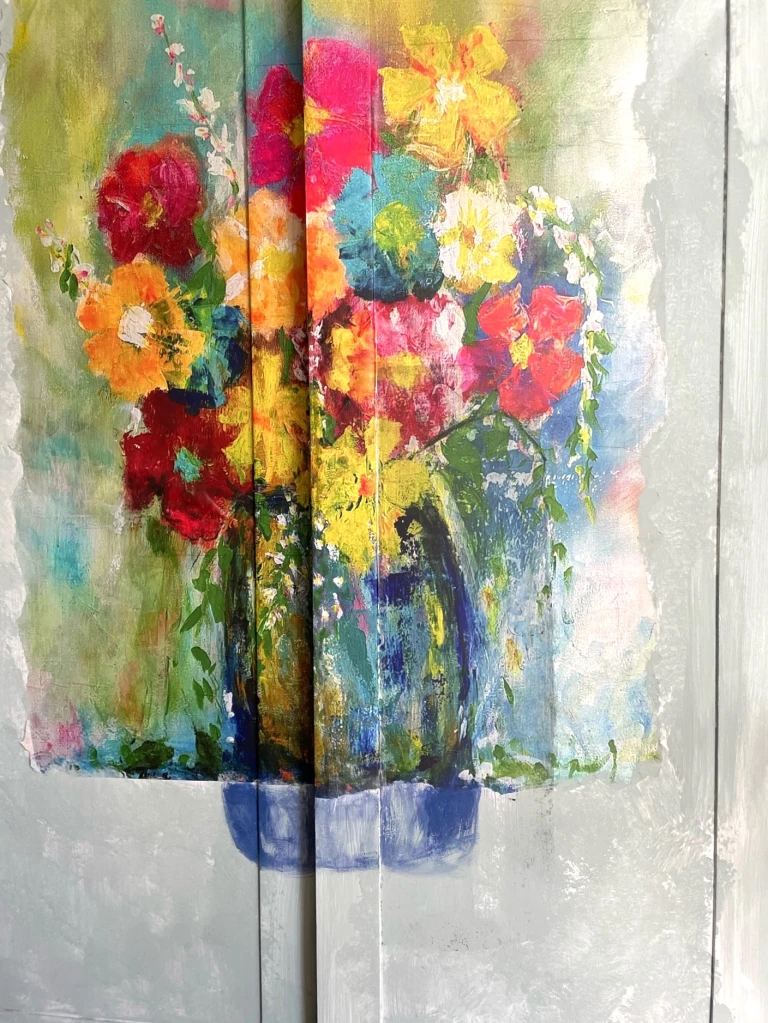
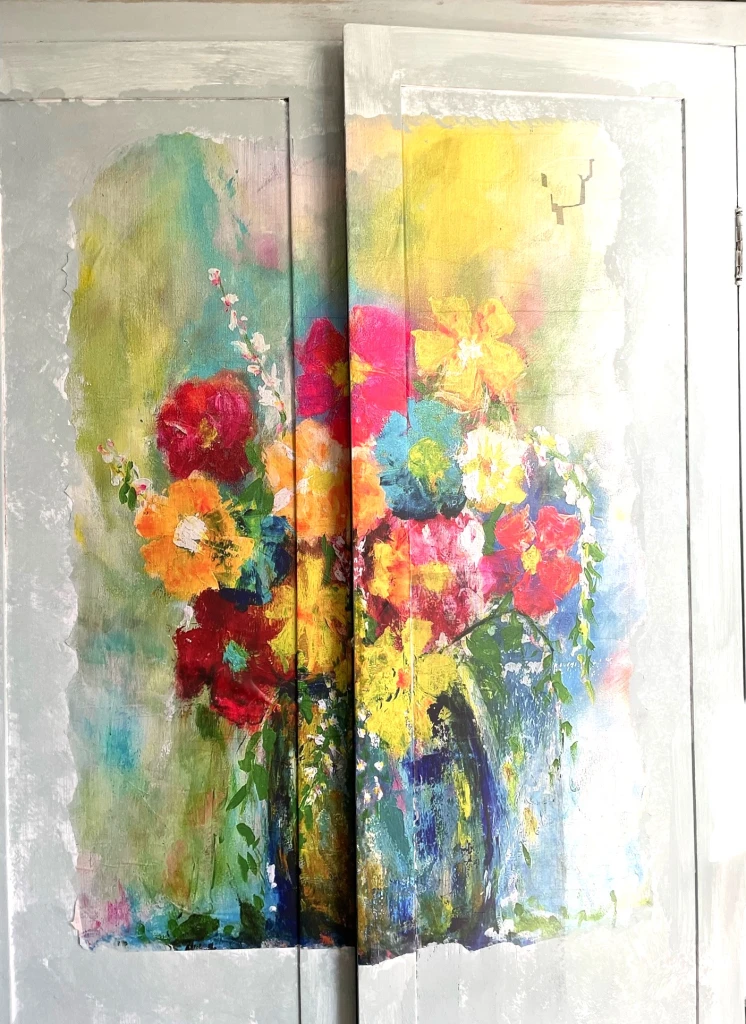

Using acrylic pants, I extended the artwork to cover to cover the entire front of cabinet.


The finished piece! I loved working on this piece. It enabled me to experiment with blending colors but most of all it gave me the freedom to let go.
I was working up to the last minute so there is a little bubbling near the top but once it fully dries it will disappear.
If you enjoyed this blog, please like it!

Comments